Waziper Installation Guide for cPanel
Waziper Installation Guide for cPanel

Waziper Installation Guide for Cpanel
WHM installation guide or tutorial
WHM (Web Host Manager) is a control panel used for managing web hosting accounts. The installation process for WHM may vary depending on your server setup and hosting provider. Here are some general steps that may help you with the installation:
Obtain a license key for WHM from cPanel. You will need this key during the installation process.
Connect to your server using SSH (Secure Shell).
Update your server packages using the command:
sudo yum update
Install Perl using the command:
sudo yum install perl
Download the installation script using the command:
curl -o latest -L https://securedownloads.cpanel.net/latest
Run the installation script using the command:
sh latest
Follow the prompts during the installation process. You will be asked to enter your license key, server hostname, and other information.
Once the installation is complete, you can access WHM by navigating to https://your-server-ip:2087 in your web browser.
Log in to WHM using your root username and password.
Configure your server settings and set up your hosting accounts as needed.
These steps should help you with the basic installation process for WHM. Keep in mind that the exact steps may vary depending on your hosting provider and server configuration.
Install packages in a profile
Please watch the video tutorial
Configure basic settings of a PHP version 8
- allow_url_fopen: Enabled
- memory_limit: 1024M
- post_max_size: 512M
- upload_max_filesize: 512M
Please watch the video tutorial
Create New Database
Please watch the video tutorial
Waziper Install Main Script
Upload the waziper_main_version_8.0.0.zip file to the main domain directory
Please watch the video tutorial
Install server domain
Download whatsapp_server_module_main.zip (waziper_server.zip in video) and upload to server
Create Api domain and connect them to your Server IP Address
Please watch the video tutorial
API Domain Configure
- Create a directory in the root folder to upload “waziper_server.zip”.
- Set up a common database with Main Script
Please watch the video tutorial
Setup Nodejs
Please watch the video tutorial
Install Application Manager
Please watch the video tutorial
Connect api domain to port 8000
Create file.htaccess and upload to api domain directory
    RewriteEngine On
    RewriteCond %{HTTPS} !=on
    RewriteCond %{SERVER_PORT} !^8000$
    RewriteRule ^ http://%{HTTP_HOST}:8000%{REQUEST_URI} [P,QSA,L]
Please watch the video tutorial
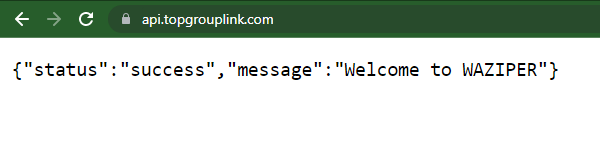
Check the working status of the api domain
Please check the link
https://api.yourdomain.com/
{"status":"success","message":"Welcome to WAZIPER"}
Please check the link
https://api.yourdomain.com/get_qrcode
{"status":"error","message":"The Instance ID must be provided for the process to be completed"}

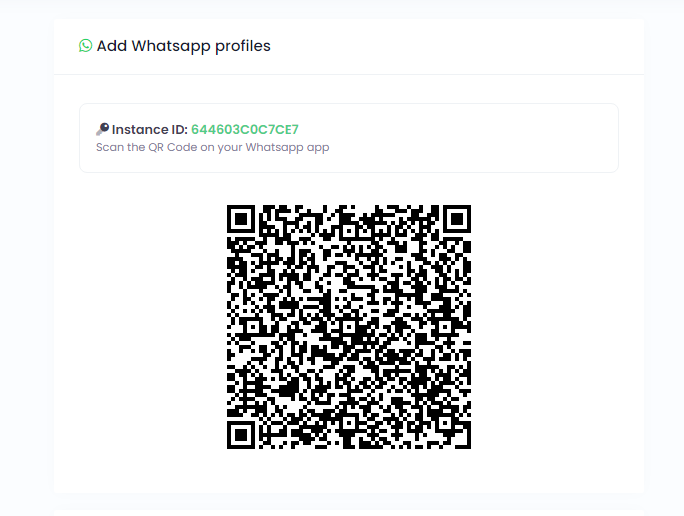
Part 5: WhatsApp API Configure & Check Qrcode
Please watch the video tutorial
Api domain set up correctly
Correct setting
https://api.yourdomain.com/
Wrong setting
https://api.yourdomain.com
http://api.yourdomain.com/
api.yourdomain.com
and more….
Set up Cronj according to the daily cycle
sudo kill -9 $(sudo lsof -t -i:8000)